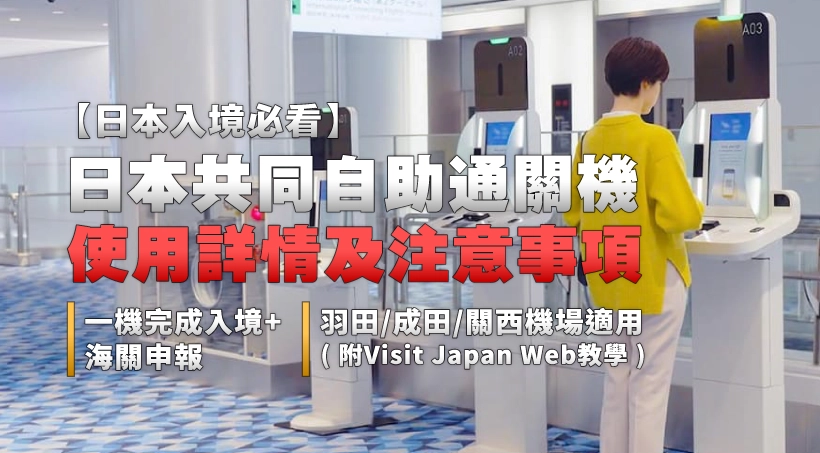
Passengers who are at least 135 cm tall and have no items to declare can use the system; passengers in wheelchairs can also use the 'Joint Kiosk'.
[Must-read for entering Japan] Details and precautions on how to use Japan's Joint Kiosk | Complete entry + customs declaration at one machine | Applicable to Haneda/Narita/Kansai Airports (with Visit Japan Web tutorial)

Tokyo Haneda Airport, Narita Airport and Osaka Kansai International Airport in Japan have introduced a new self-service customs clearance system 'Joint Kiosk' in April 2025. Visitors can use the Visit Japan Web to combine immigration and customs declaration procedures to reduce queuing time. This time, Kwiksure will explain to you the 'Joint Kiosk' and Visit Japan Web details and precautions for use.
- Joint Kiosk | Combine immigration and customs procedures to shorten the waiting time by 20 minutes
- 4 steps to enter the country through the Joint Kiosk
- Notes on Joint Kiosk | 2 types of tourists cannot use them
- Joint Kiosk Service Hours and Locations
- Joint Kiosk Usage Process
- Visit Japan Web Usage Flow
- Frequently Asked Questions
- [Japan Holidays 2026] Want to avoid public holidays when traveling to Japan? A list of Japanese national holidays and long weekends | Japan's peak and off-peak tourist seasons
- [Direct flight from Komatsu, Japan] Self-driving tour itinerary planning
- Sendai Destinations | Self-Driving Tour in Tohoku, Japan
Joint Kiosk | Combine immigration and customs procedures to shorten the waiting time by 20 minutes
To use the common self-service immigration clearance machine, passengers must first pass the Visit Japan Web after filling in your personal information, you can use the customs clearance machine at Tokyo Haneda Airport, Narita Airport and Osaka Kansai International Airport to complete the immigration inspection and customs declaration steps at the same time. The Japanese authorities expect that the customs clearance machine can shorten the waiting time by at least 20 minutes, and are committed to expanding it to airports around the country to facilitate passengers traveling to different places.
4 steps to enter the country through the Joint Kiosk
- Complete Visit Japan Web Declaration at least 6 hours before arrival and obtain the entry QR code
- After arriving at Haneda, Narita or Kansai Airport, scan your passport and QR code at the Joint Kiosk
- Scan the fingerprint and perform facial recognition according to the instructions of the Joint Kiosk
- Complete Japanese immigration procedures
Notes on Joint Kiosk | 2 types of tourists cannot use them
- Passengers using wheelchairs can use the 'Joint Kiosk'
- Even if the whole family is traveling, they still need to go through the procedures one by one
- The user must be at least 135 cm tall
- Passengers with items to declare cannot use the 'Joint Kiosk' and need to go to the manual counter to complete the procedures
Joint Kiosk Service Hours and Locations
|
Service hours and locations at each airport |
|||
|
Airport |
Terminal |
Place |
Service Hours |
|
Kansai Airport |
Terminal 1 |
Entry Area and Entry Inspection |
9:00am to 9:00pm |
|
Terminal 2 |
Immigration Inspection |
9:00am to 9:00pm |
|
|
Haneda Airport |
Terminal 2 |
Entry Area and Entry Inspection |
4:30 a.m. to 10:00 p.m. |
|
Terminal 3 |
Entry Area and Entry Inspection |
Arrival area: 24 hours Immigration Inspection: 12am to 1:30am; 4:30am to 12:00am |
|
|
Narita Airport |
Terminal 3 |
Immigration Inspection |
10 a.m. to 8 p.m. |
Joint Kiosk Usage Process
1. Go to the Joint Kiosk and scan Visit Japan Web Entry QR code

2. Scan your passport

3. Confirm the content of entry declaration

4. Confirm the customs declaration content

5. Scan the fingerprints of both index fingers

6. Perform facial recognition

7. Follow the instructions at the Joint Kiosk to go to the dedicated channel

8. Go to the priority channel of the Joint Kiosk

9. Show your passport to customs

10. Collect your luggage

11. Walk directly through customs formalities and complete facial recognition at the same time

Image source: 税関チャンネル YouTube 截圖
Visit Japan Web Usage Flow

Image source: デジタル庁
Registered personal information
1. Go to Visit Japan Web and select your language

2. Create a new account and check the box to agree to the terms of use and privacy policy, then click Next.

3. Enter your email address and password according to the instructions and check 'I am human' and click Create Account

4. The Visit Japan Web system will automatically send a verification code to the email address you entered. You will need to confirm your email address on the website and complete the account application process.

5. Log in to the website, click 'Personal Information', check 'No' and click Next

6. Fill in your passport information, confirm the content and click 'Login' to complete the registration

Register your family members’ information
If you are traveling with your family, you can use Visit Japan Web to log in the information of your family members. Each account can log in up to 10 people. If there are more than 10 people, you need to fill in the information separately; the content to be filled in is exactly the same as the steps for logging in to your personal profile.

Log in to your country and book your return trip
Fill in the expected date of arrival in Japan, flight information, and contact information and address in Japan (hotel name is only in English). After pressing confirm, a confirmation page will appear. After checking that there are no problems, you can log in to make a reservation.

Immigration Registration
1. Click 'Foreigner Entry Record', fill in personal and accommodation information and click Next

2. Check the box according to the actual situation, confirm the input content and check it. If there is no problem, you can log in and get the QR code

Customs declaration
If you are traveling with your family, you only need to fill out one form together. If you are traveling with friends, each person needs to fill out one form.
1. Click 'Declaration of Carry-on Items and Items to be Sent Later' on the homepage and fill in your personal information and the family members accompanying you.

2. Enter your accommodation in Japan, declare your belongings and click Next

3. Declare gold products and purchases exceeding the duty-free range, specialties or gifts, check the box and click Next

4. Declare commercial goods, commodity samples and items entrusted by others, check the box and click Next

5. Declare cash, precious metals and items to be sent later, check the box and click Next

6. Confirm your belongings and report them, click 'Login', and get the QR code after completing the registration.


Frequently Asked Questions
What is a 'Japan Joint Kiosk'?
The 'Joint Kiosk' is Japan's latest self-service customs clearance system.After logging in the Visit Japan Web, you can scan your passport, QR code, fingerprint and perform facial recognition according to the instructions on the joint self-service customs clearance machine to complete the entry and customs declaration procedures at the same time, which is expected to shorten the waiting time by at least 20 minutes. The 'Joint Kiosk' is currently only available at Tokyo Haneda Airport, Narita Airport and Osaka Kansai International Airport.